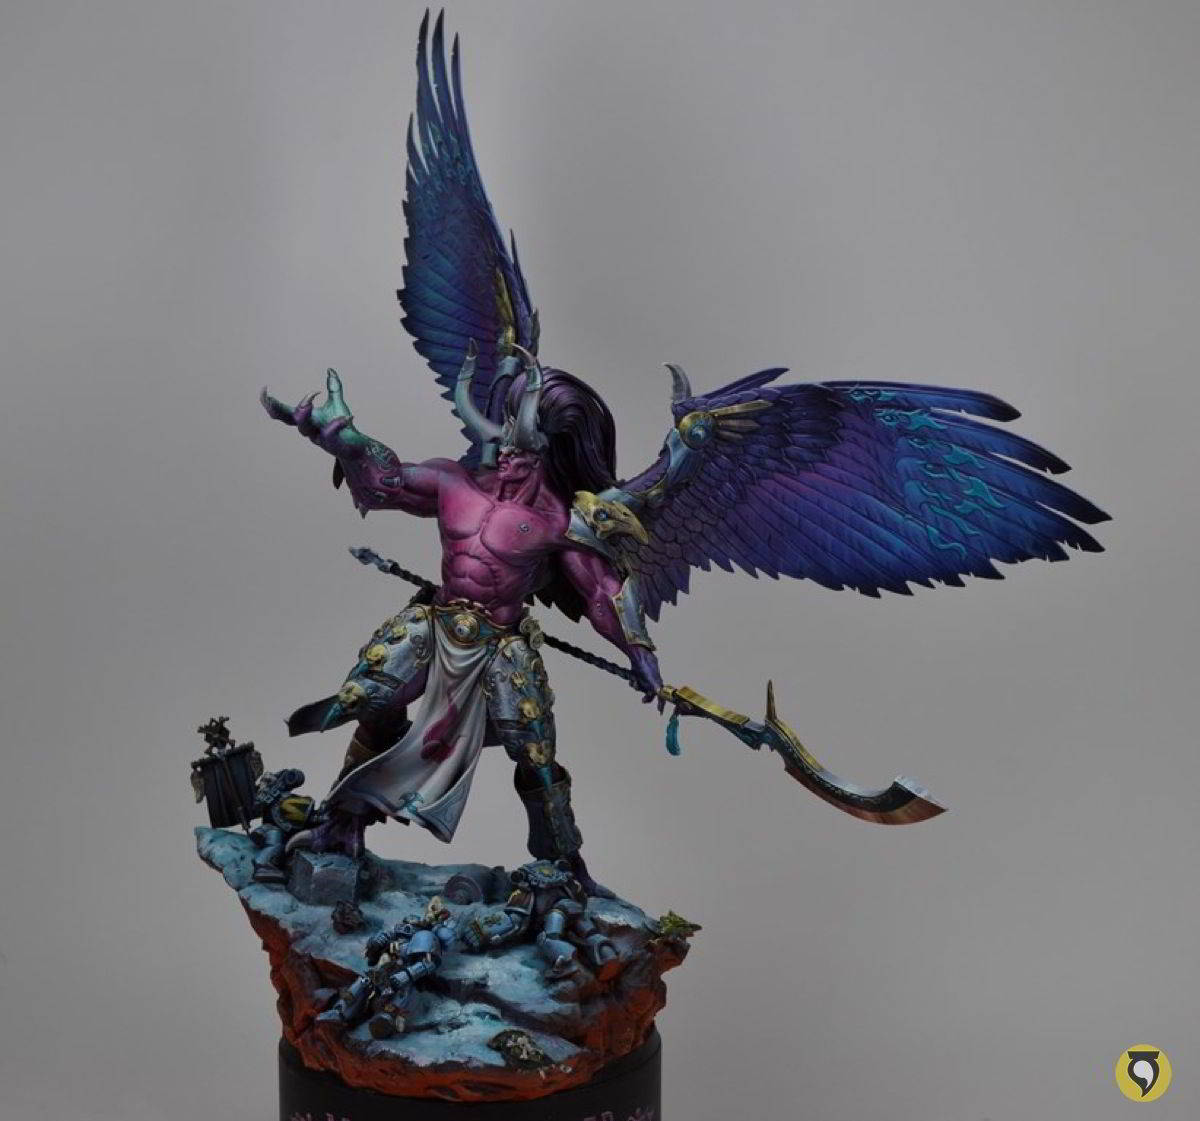
Some time ago I was contacted to work on a project that was considerably bigger than what I am used to: painting one of the most legendary characters of the universe of Warhammer 40,000: Magnus the Red. I have to say that this has been one of the biggest challenges of the past few years and the biggest miniature I have painted until now.
Magnus The Red Tutorial
Normally I write a Step by Step article of the process. In this case I thought that it could be more interesting to share the experience rather than just explaining how it was done. I divided the text in 4 parts: proposal and approach, conversion, painting and final details.
Proposal and approach
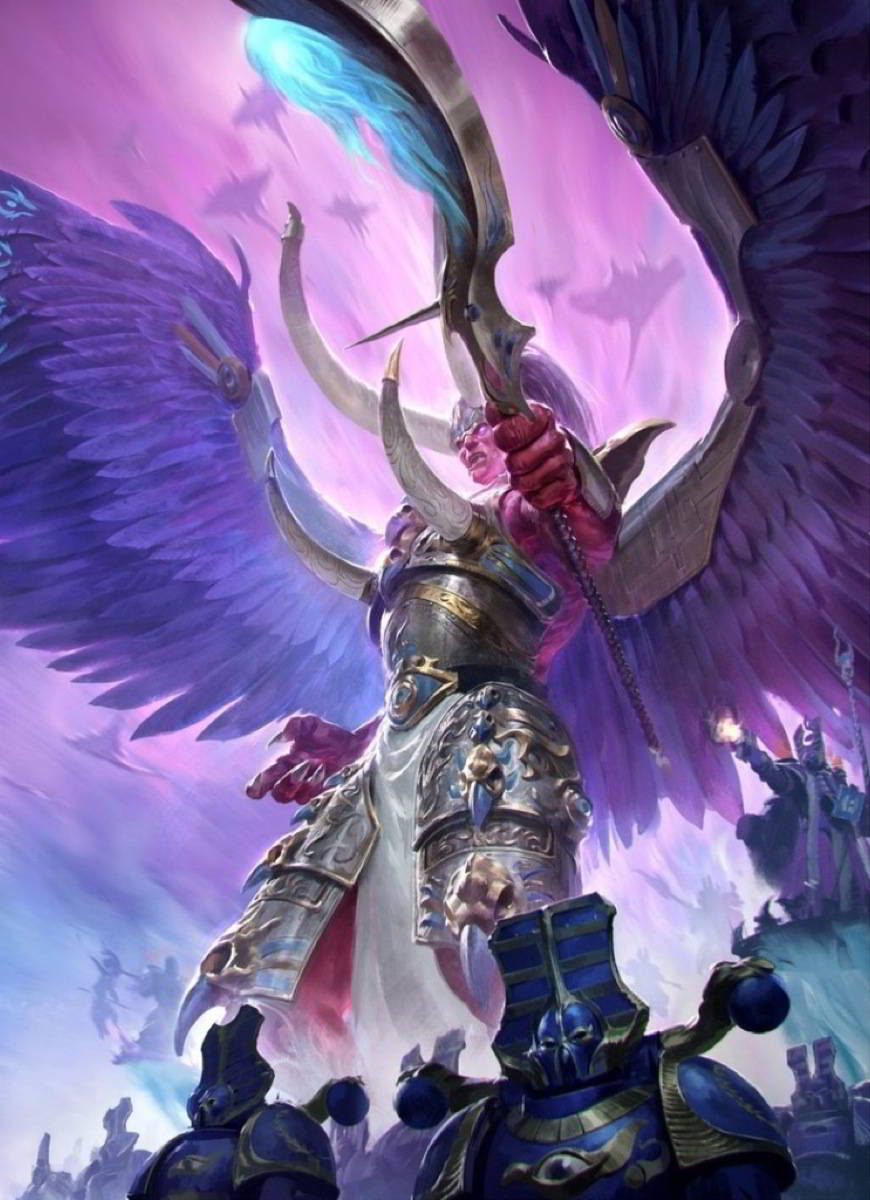
When the collector contacted me I was very interested in the idea he had in mind for the character. In particular, the amount of information that he gave me. He wanted the piece to show the character of this Primarch in all its glory and he provided me with a lot of documentation to get the job done. Although I do not always do it, I like to invest time in planning since it greatly facilitates the mechanical work afterwards. Additionally, in this case I was looking for a visually powerful work as I was going to take the finished piece to the Golden Demon.
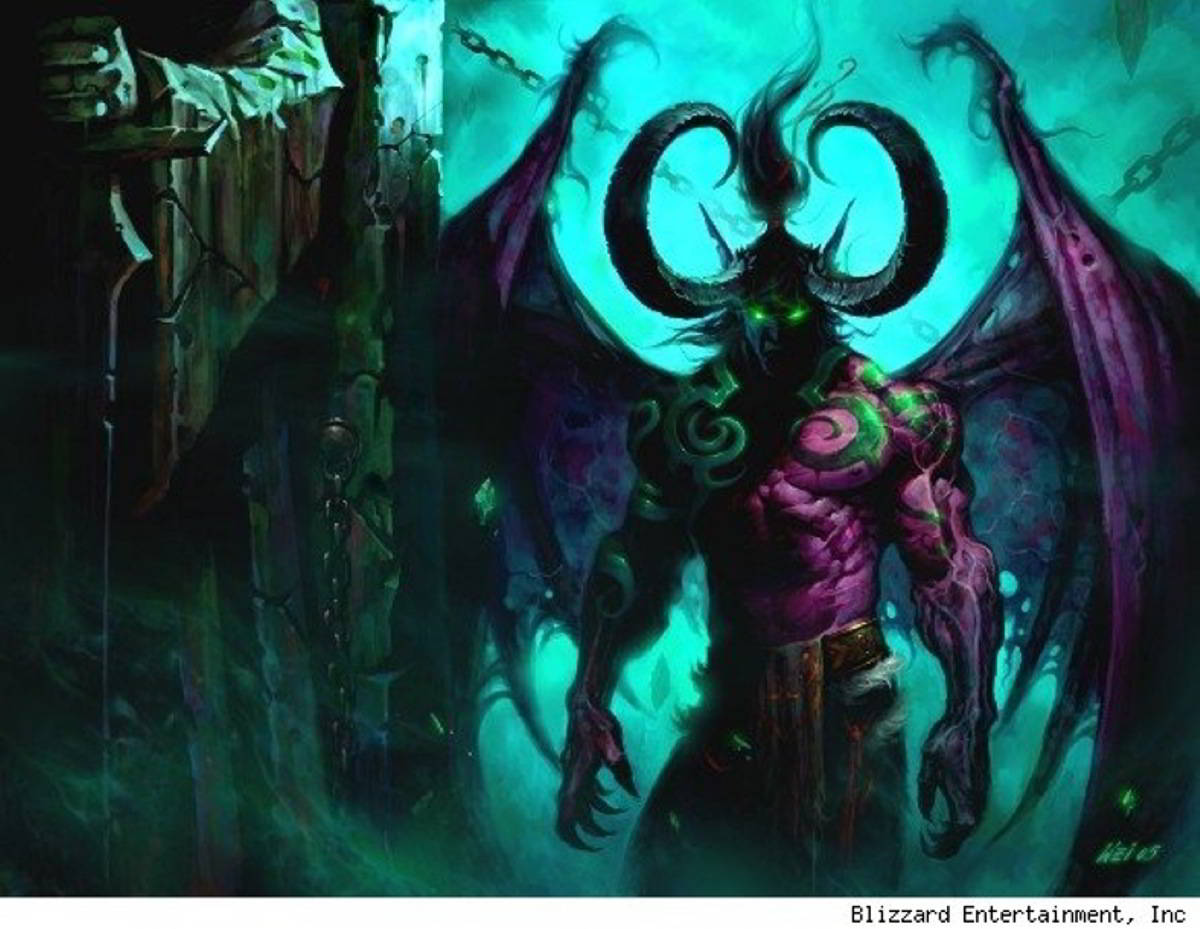
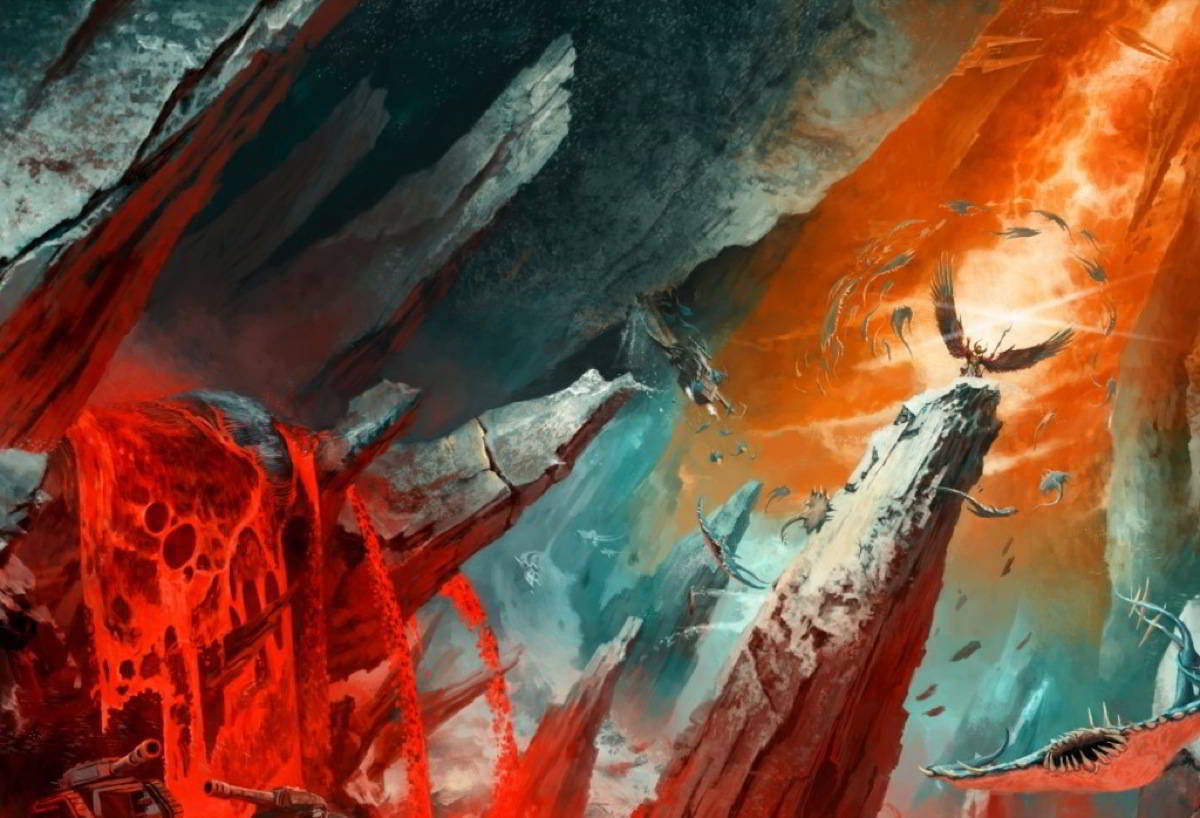
These are some of the reference images that I used for the colour and the design of the story, as well as the base.
Conversion
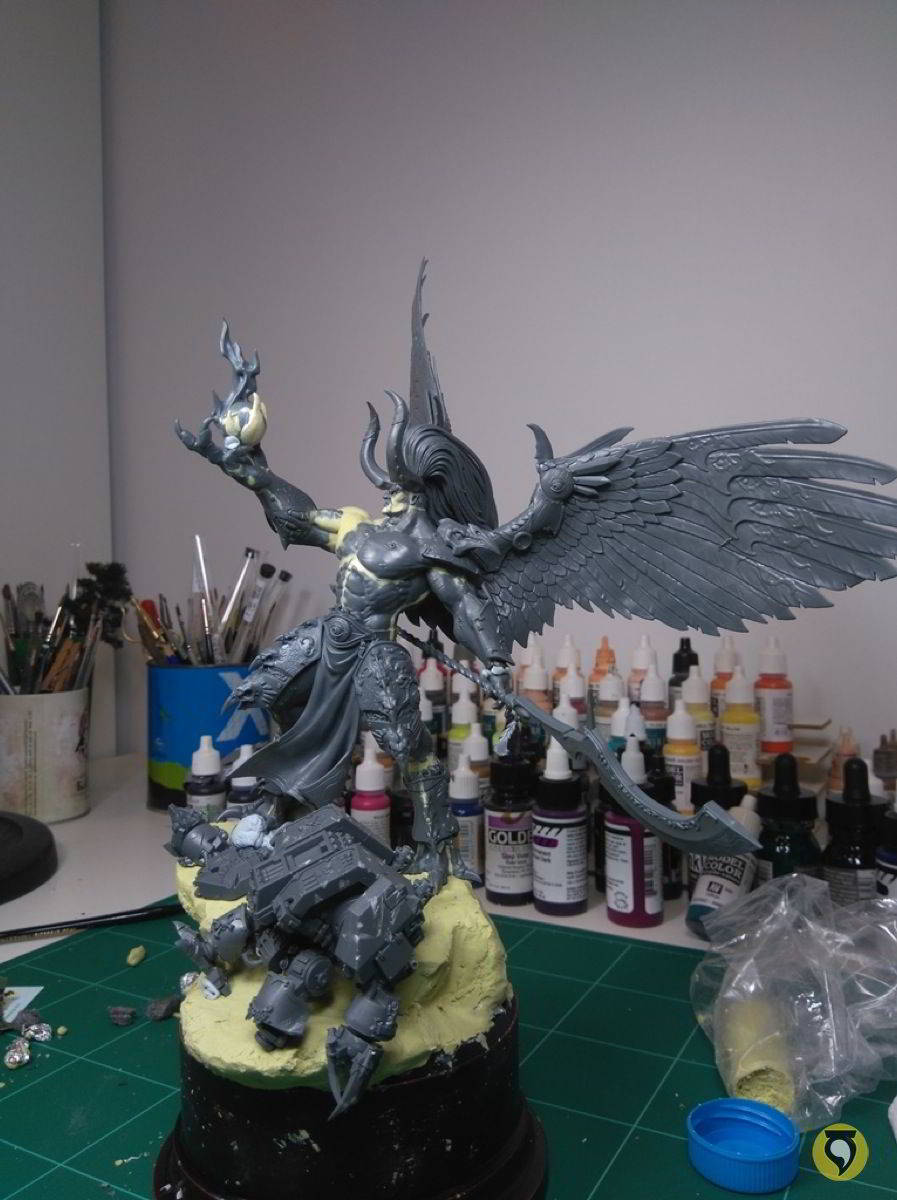
Once I decided on the idea based on the illustrations, I began to work on the conversion. It had been a long time since I had used putty to model something and I must say that in a way it was like riding a bike again. It takes a little patience thought because the working times are not the same as those of painting.
My idea for the conversion was very simple. Once I assembled the piece, I cut the right arm at the shoulder and lifted it to give the sensation of invoking something or casting some spell. In my original approach, I used the ball that comes with the weapon to represent this source of energy. Later I would find that this source was too large and would greatly condition the rest of the piece. This is why I did not decide what to put until the end.
About the details, I thought the piece would look much better without the armour, bare-chested, looking a little more like Illidan or Shaetann by Raúl García Latorre. I think the original miniature had some design problems and this is what I tried to correct them to get more out of the piece. For this reason I also reshaped some of the volumes of the face although in the end I think I should have transformed the whole jaw and give it a more aggressive expression, as if it were screaming.
On the base my idea was to use a rock-like terrain similar to one of the reference illustrations. I put a Space Marine Dreadnought as an opponent defeated by Magnus to see the composition between one and another. Later I would abandon this idea and change it for a series of Space Wolves and battle debris.
Painting
As opposed to other articles, in this one I will not write much about colour details, recipes or processes. I will simply make a small summary of the steps that I went through throughout the process.
I primed it in black and gave it a white starting layer with airbrush. The truth is that I think I was short on white, as I realized later. Red is not easy on a large surface. In any case after the white, I gave a base with magenta and from there I highlighted the skin in general with different tones of pink, purple and magenta. The general colour scheme was meant to be cold so I was compensating the colour with blue throughout the process.
I think that being such a big model I should have approached the painting in the first place considering the whole thing and not the details as I finally did. As seen in the photos I extracted small volumes already in the beginning, losing some of the overall idea. In the end this made it difficult for me to finish the set in the final phase. To paint the skin and NMM, the most difficult thing was to square the views. The trick in these cases is usually to raise the volume in primitive geometric forms and later to decompose in others.
Throughout the painting I had to go back to make progress because I was not sure which way was the best to make the piece work. In the end I like to be guided by taste and intuition, letting the model help me find the answer.
The wings were a rather complicated job, especially for the amount of detailed feathers, in the front and back. I highlighted them separately and then placed them in the model temporarily to see how they worked with the whole piece. The airbrush helped me a lot to visualize the colour scheme because I wanted them to help keep a specific ambiance but also work as a frame for the main elements of the model.
As you can see in all the pictures of the process, there were many steps taken to reach the final result. Polishing the model was the most complicated thing for me although luckily I had some help.
Final details
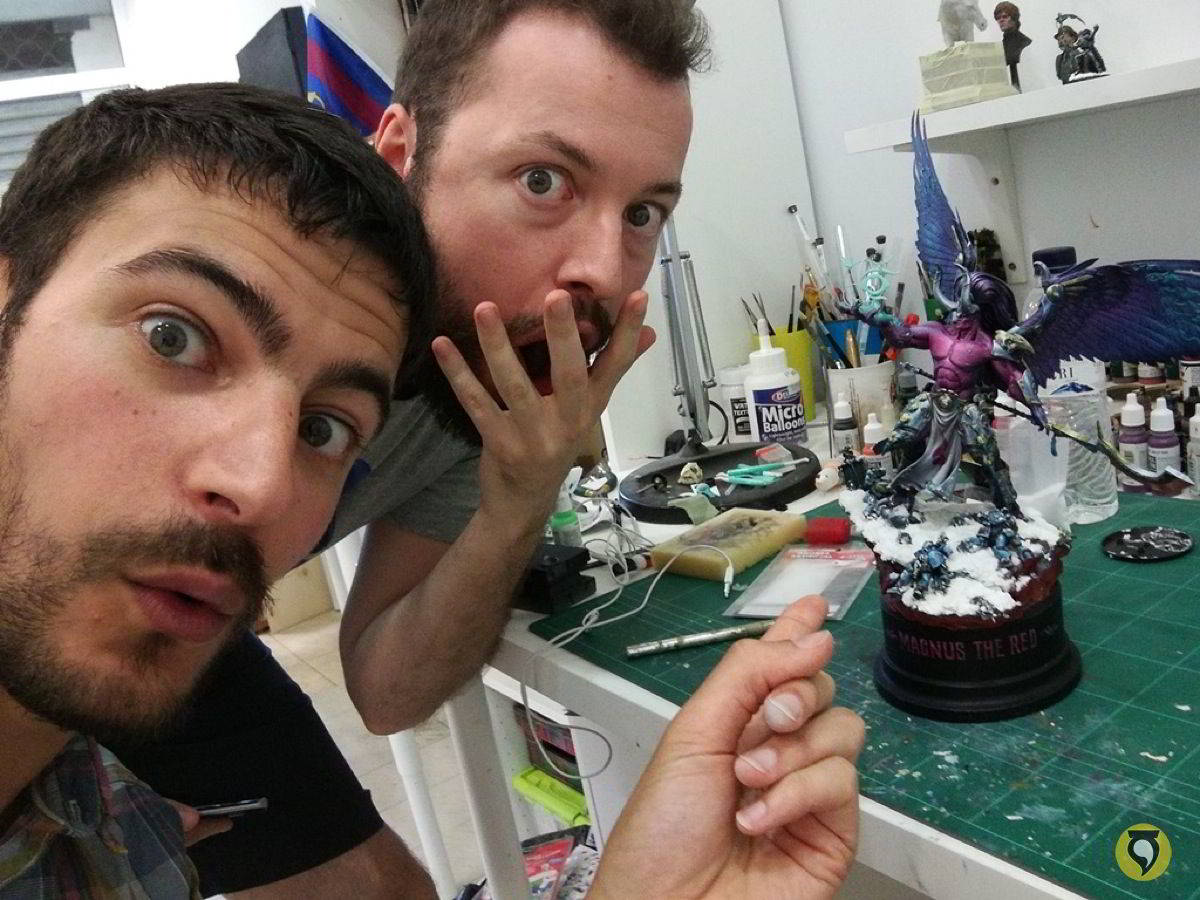
I am not very used to painting for competition. Painting a boxart is painting just for the photograph, whereas collector pieces and showcase are a different thing completely. You need to work on the details to polish every mistake because when you study the model carefully you can pick those up. Since I followed the process completely on my own, I needed that criticism from someone objective about it, to guide me in the end to get the most out of it. Luckily, a week before Golden Demon, I could share the studio with my fried and colleague Rafael García (Volomir) who gave me very good criticisms, as he always does.
Cleaning transitions, adjusting reflections, correcting stains and polishing details can be a very hard process when you have spent a lot of time already with that same piece. Sometimes you lose objectivity. You need to breathe and take some time to see things in perspective. In this case I had quite some time, and also four eyes see more than two, so luckily I could count on my friends for that last push.
If I had to write some credits about the work did here, I would certainly mention Diego Esteban and Rafael García who helped me very much with the idea of the piece and the terrain, and they also greatly encouraged me at all times. Without a doubt, I want to thank Sergio, who made this project possible, and I hope he enjoys this very much in his cabinet.
To the rest of friends and colleagues who where at some point involved in the process and gave me their point of view: thank you!
I hope you liked it! For any question you may have, you can write me to Marc Masclans Miniatures, on facebook. I will try to answer as soon as possible!


