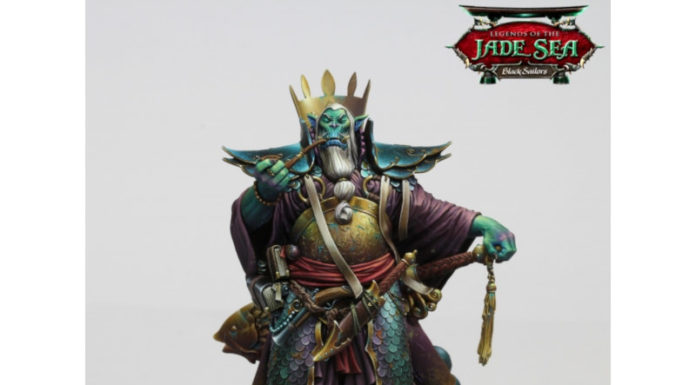
If I had to do my Top 10 of miniatures I enjoyed painting the most, ‘Papa Jambo’, sculpted by Hugo Gómez Briones for Black Sailors, would definitely be in it. A year ago I painted the boxart version. I am particularly proud of it because it received great public appraisal, and that makes a painter like me very happy.
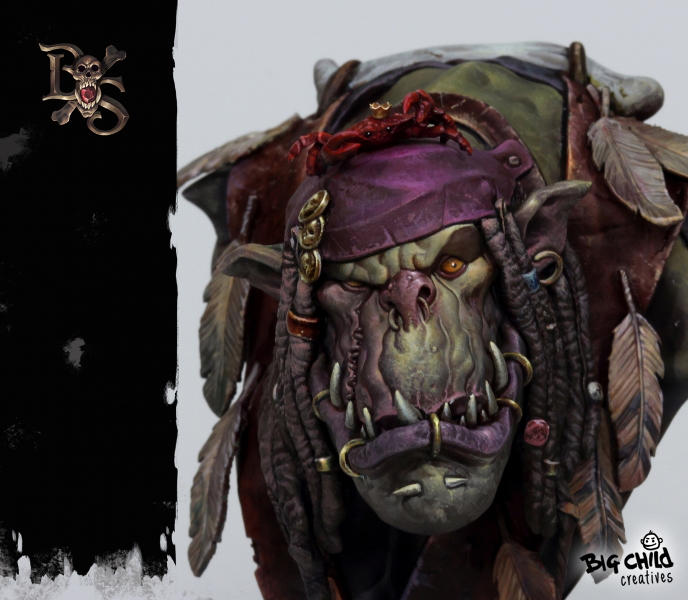
To start off with my section in volomir.com I thought of no better idea than to show you a Step by Step article of the second version I painted. It is a collector’s paintjob where I tried to reach further than the usual painting for photograph.
I started this piece in a painting course as a complement to the lessons taught. I have to say that this bust is wonderful for a workshop, thanks to the variety of materials and surfaces and the possibilities offered for a painter to go wild on texture painting.
The miniature was primed black and then sprayed on top with titanium white on airbrush. From this point I start sketching as you can see in the first pictures. My painting process usually goes from general to specific, so the sketches at this stage are dirty and I just insinuate colour areas, brushstrokes, that I blend at a later stage to smoothen and define the surface.
In this first part of the process the idea is to stain the bust with colours just to see the scheme. I play with complementary colours for contrast. Leather parts tend to violets and terciaries to oppose the yellow and orange tones in the mouth. The medium tones in green/blue are there to keep depth in face and skin.

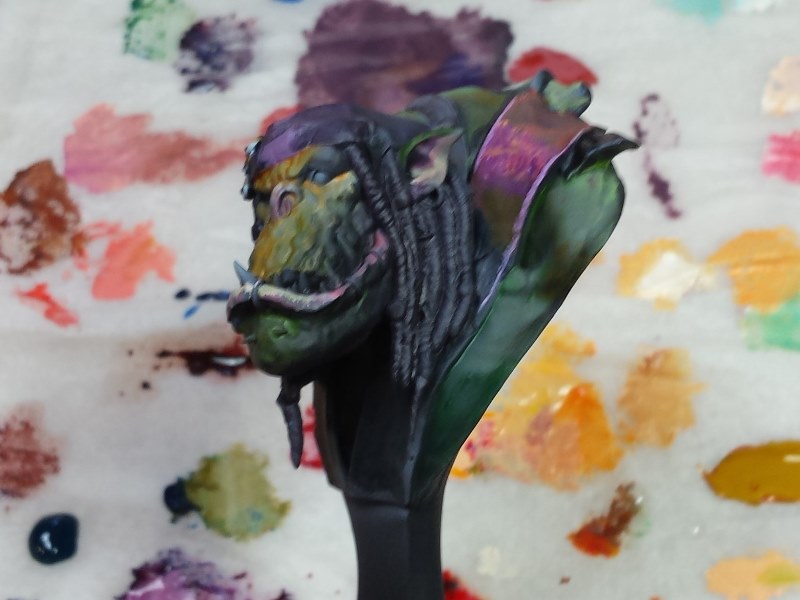
I continue staining with the brush. I use dots and thick paint over the surface to define the different elements. Polishing is not important now, we just want to see where the scheme is leading us.

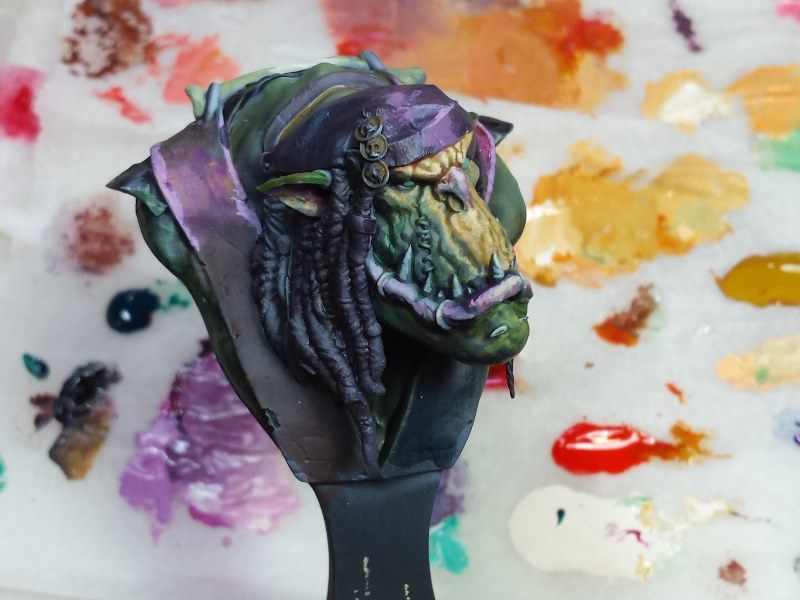


We start blending slowly and adapting each area with dots and fine glazes that clean as well as play with tonal transparencies and textures. We have also now placed the lights on the focal elements such as the mouth, lip and front part of the hat. Also, to have a clear idea of the expression of the piece, we sketch the gaze of the bust. Even if we are only placing a dark and white spot, these will help us get familiar with the character attitude that we want the piece to transmit.
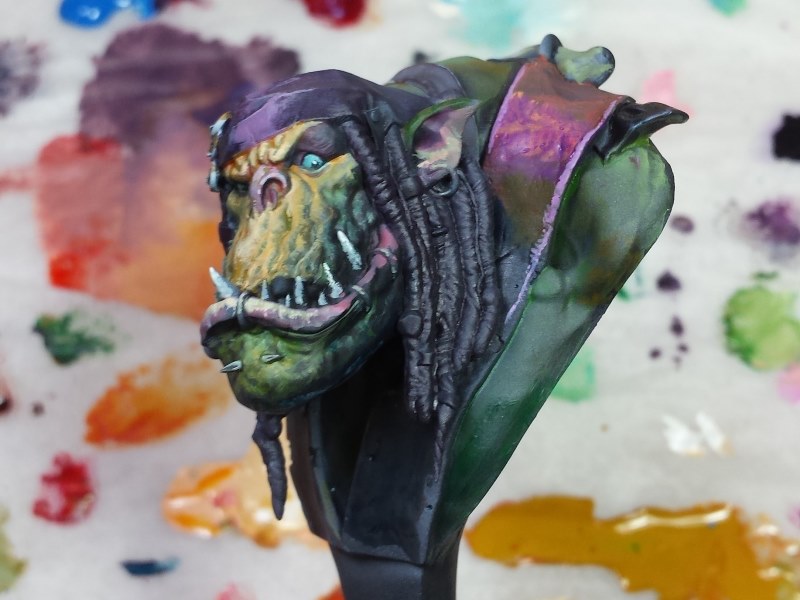
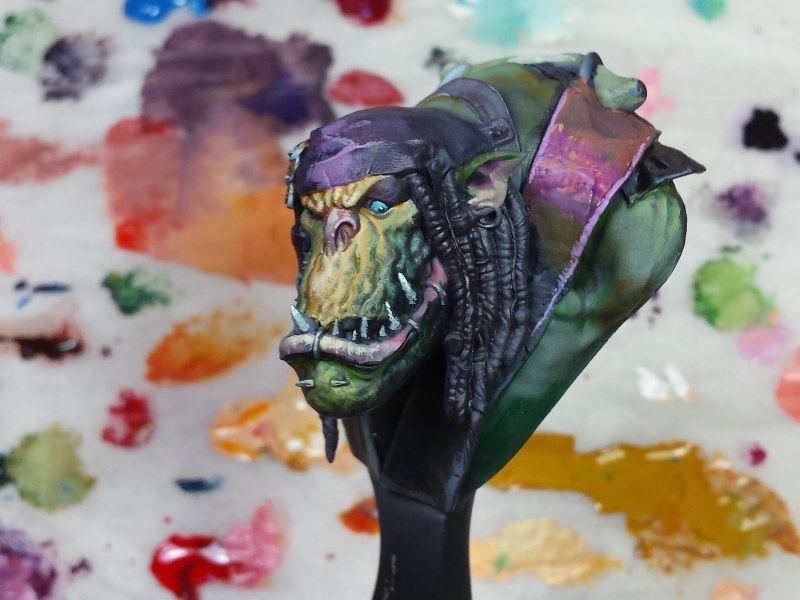
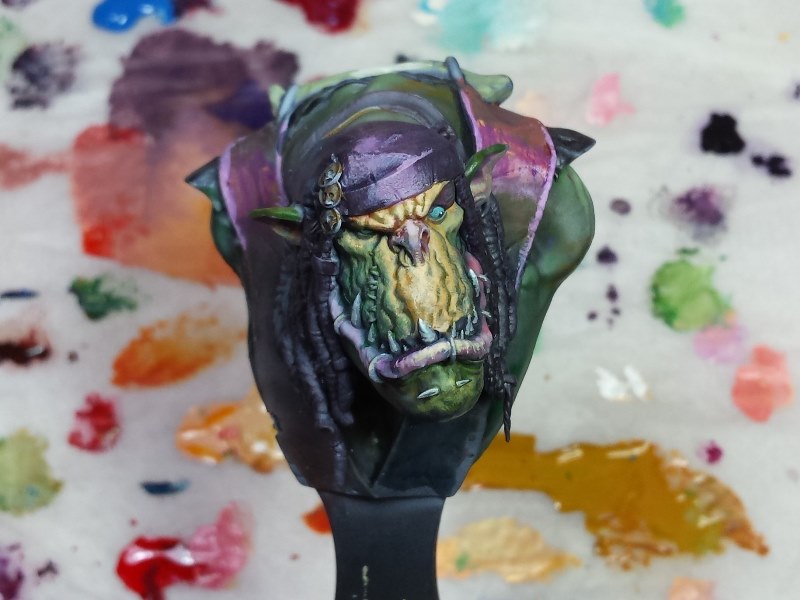
Now we concentrate in definition, outlining details and highlighting wrinkles. In order to use them as a main element, we highlight the deep areas of mouth wrinkles. This is an aesthetic resource but will help us define and interpret volumes.


In the following pictures we can see a diference in colour tones because of the general lighting used to take the photos, and the different camera. Despite that, you can see the progress on the dotting process. At this point it is useful to take pictures to zoom in on the miniature and analyze it looking for flaws or mistakes up close.


In these last photos, taken with a camera and not with a phone, the result is more loyal to the real piece. I worked on the details in the mouth, looking to contrast the lips slightly to differenciate them and add some extra flesh feeling. Since the skin is yellow, I use a saumon pink tone, rather than a sunny skintone that would not be as fleshy in this case. Some reds, pinks or saumon oranges can help us add even more flesh sensation and volume.
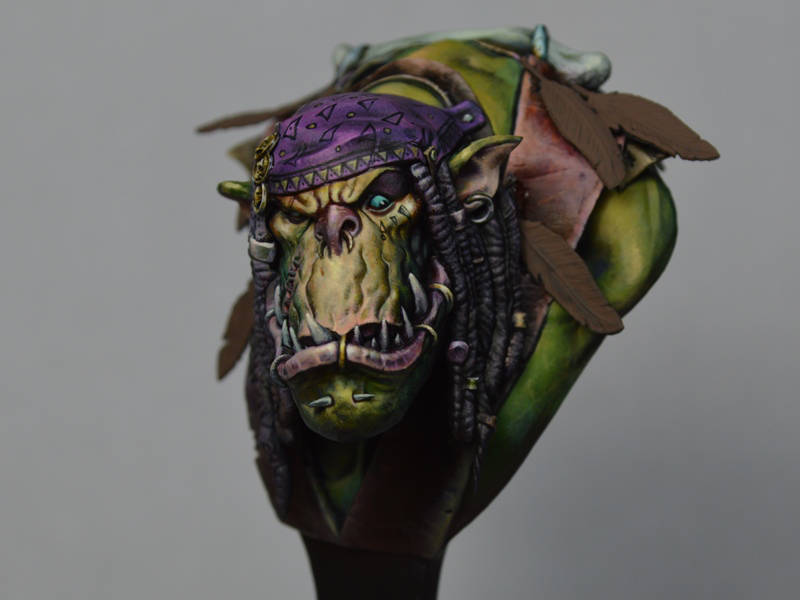

Before painting the crab and placing the piece on a plinth we can see the result of the bust with the painted feathers. Since I don’t want them to take the focus off the face and other natural dominant elements, the colours I used are terciaries in harmony with the rest of the piece. The textures of the feathers help us detail the area and despite them being secondary elements, they provide us with more information.
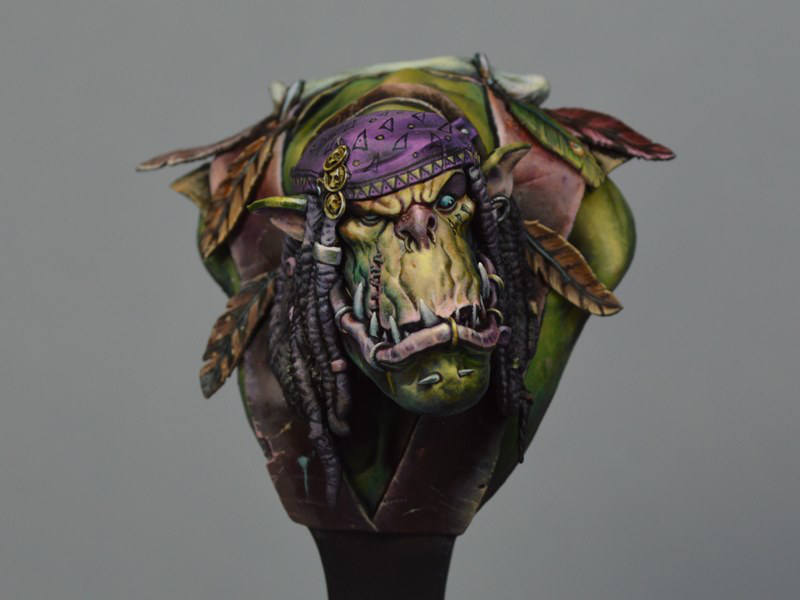
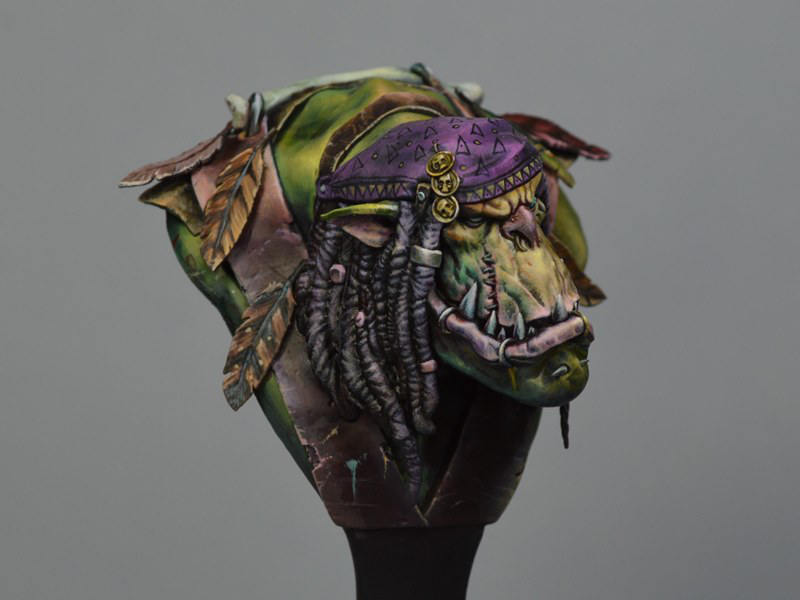


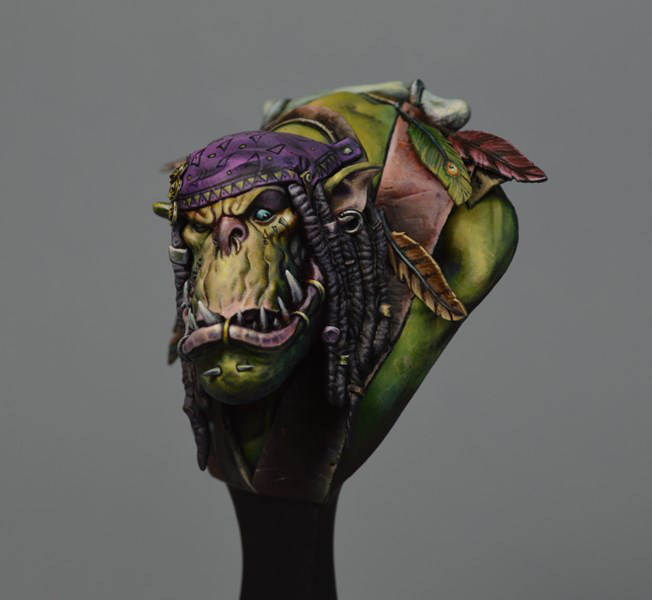
I hope you find this article interesting and useful especially if you have the piece, I’d love to see more versions soon. If you want to see more of my paintjobs, follow me on my facebook page, Marc Masclans Miniatures. I look forward to more articles in my section here to keep sharing the wonderful world of miniature painting with all of you.








Qué sexy sale Marc. Espero que pronto le veamos en la final de petanca.
IMpresionante Marc. No tengo palabras para describir lo increíble que me parece tu forma de pintar y lo asombroso que está Papa Jambo después de pasar por tus manos.
Wonderful article. A joy to see your progress, Sir. Thanks for sharing. Keep on happy painting!
¿Por qué ese fondo gris para las fotos y no uno blanco o gris?
Estupendo tutorial, Marc. Muchas gracias
Muy chulo, un disfrute
[…] Papa Jambo tutorial: how I painted my second version […]
Thank you for this tutorial. Fantastic work.