


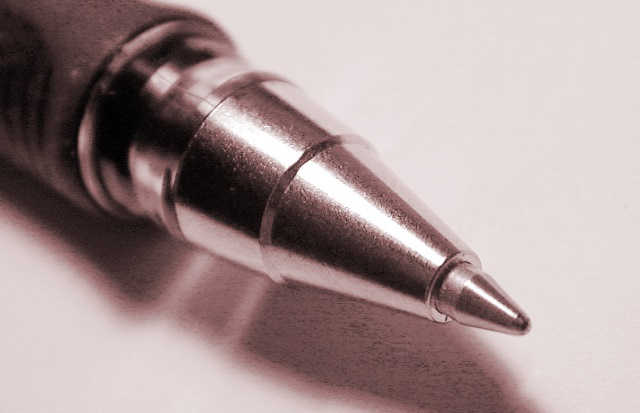
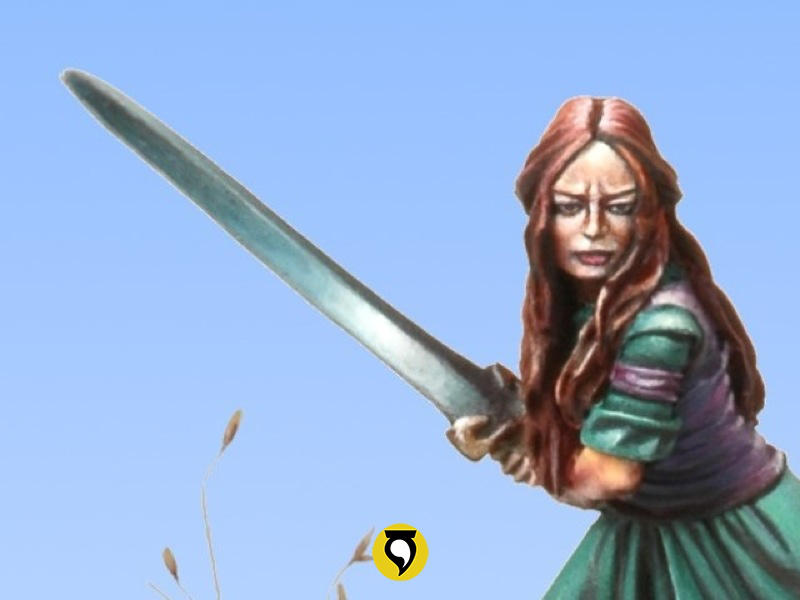
Metallic surfaces are difficult to represent with paint. This is because of how metals interact with light. The way they reflect light makes metals similar to mirrors, especially when they are very polished.
In traditional painting, metal represented in two dimensions is relatively easy to achieve: we force contrast in small spaces, extreme light spots, and simulate reflections that occur naturally, limiting ourselves to the context of a single view. When we paint a three dimensional object, this is something much more complicated. Glares and shines depend on the position of the viewer relative to the figure. When we look at the object from a different angle, light spots change its position. This is something we cannot represent with paint, unless we use a painting substance that behaves exactly as metal does.
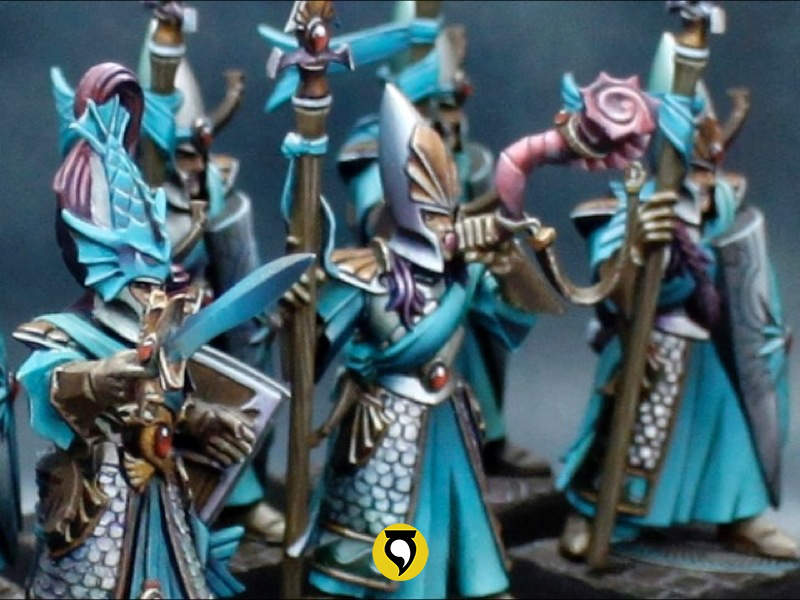
Paints with metallic pigments were developed to simulate the natural brilliance of these materials. This way of painting metals is commonly known in miniature painting as ‘True Metallic Metal’. When painting with these pigments, the surface acquires a metallic feeling, and despite being a good approximation, we do not get the exact natural reflection of polished metals (although with some very specific paintings we may get close enough).The perspective of the viewer is essential to the location of light spots in metals. If we only use metallic paints, light spots will appear depending on the relative position of our eyes with respect to the miniature. This will lead our brain to think that the miniature is just a small toy. To avoid this, we try to fool the eye forcing the light spots to remain in the same position, as we do with any other surface in miniature painting. This time the position of the light spots do not depend so much on the overall light scheme on the miniature but rather on our artistic intention.
The secret of metals is therefore representing the reflection of light in the appropriate manner. The more polished metals are, the more they suffer from mirror reflection. This feeling of a mirror is what we will try to represent with paint on our miniatures. The following features will define the quality of our metallic painting:
- Very strong colour contrasts: ranging from light to dark in a extreme way. We will be able to go from black to white in silver metals or from light to dark browns in golden metals for example. The great difference from painting any other type of surface is that we will extremely differentiate changes of places and position of highlights. The latter, which at other times is determined by the position of light sources, in this case is arbitrary, almost at will, representing the fact that metals act like mirrors. We will use all forms of contrast that we have seen and will use them combined with each other.
- Clean blending: Metallics with rough transitions will not be believable, and this is especially critical the more polished the metal is supposed to be. When we paint metals with metallic paints we will play with gloss contrast, and that contrast is very sensitive to transition smoothness. Careless gloss blending will spoil the result, and while it might not be very evident to the painter, it is easy to be uncounsciously noticed by the viewer.

Traditionally in miniatures, anything we paint will have highlights and shadows. It is a simple way to create the sensation of illumination in a three dimensional miniature. When painting metal however, things will be slightly different:
- Highlights will be specular reflections of light rays either from the sun or from an alternative source of light.
- Shadows will be reflected images of nearby surfaces surrounding the metal. A more polished metal will require stronger and clearer reflections, getting close to a mirror when extremely polished.
Therefore, nearby surfaces have a strong influence in the colour that we will use for the shadows. We will have to do a study of the surface to be painted in order to identify where the lights are placed, and what they are reflecting in the shadow areas. Sometimes there will be no close object to the metal to be used as reflection. In those cases we will use a creative license. We will use the sky if the metal is looking up, so we’ll use blueish colours, or the ground if it is looking down, so usually we will use the same colours that we use for the base. We can also use the predominant colour of the miniature, so that the painted metal is kept in harmony with the rest of the figure. The possibilities are endless.

That said, let’s look at the two most popular styles of painting metals that we have in miniature painting, True Metallic Metal and Non Metallic Metal (NMM). The two forms, despite having names so pretentious, are actually the same technique. The difference is that in the first one we will use metallic pigment paints and gloss contrasts while in the other we will use matte colours.


 unveiled in Taiwan")